

How to Blend Extensions with Hair: A Natural Guide
Table of Contents
- Why Your Extensions Look Obvious (And How to Fix It)
- What You'll Need Before You Start Blending
- How to Cut Hair Extensions for Blending
- Step-by-Step: How to Blend Extensions with Hair
- Blending Tape In Extensions with Natural Hair
- Best Tools for Blending Hair Extensions
- Common Mistakes to Avoid When Blending Extensions
- Conclusion
- Frequently Asked Questions
Last Updated: September 18, 2026
Why Your Extensions Look Obvious (And How to Fix It)
Most bad extension jobs fail for one reason: nobody blended them. The bonds sit in a straight line, the ends hang heavy, and the whole thing reads as a wig the moment you move. Learning how to blend extensions with hair is the difference between a set that looks bought and a set that looks grown.
At QUEEN OF GOOD HAIR, we understand the importance of proper fitting and cutting of single-donor virgin hair, and the pattern is always the same. Blending isn't about expensive tools. It's about technique, sectioning, and knowing where to cut.
Here's the good news: blending is a skill you can learn in an afternoon. Below, we'll show you exactly how to cut and blend extensions so they move like your own hair.
But first, here's what most guides get wrong. They tell you to cut the extensions to match your natural length. That's backwards. You blend by cutting into the extension, not by chopping it to a blunt line.
What You'll Need Before You Start Blending
The right kit makes blending faster and safer. You need four things: sharp cutting scissors, a fine-tooth comb, sectioning clips, and a spray bottle of water.
Skip the kitchen scissors. Blunt blades crush the cuticle and cause split ends within weeks. A sharp pair of hairdressing shears gives you a clean line every time.
You'll also want a mirror you can angle, or a second pair of hands for the back sections.
- Sharp hairdressing scissors
- Fine-tooth comb
- Sectioning clips (at least four)
- Spray bottle with water
- Tail comb for precise partings
One more thing worth checking before you cut: the quality of the hair itself. Cheap extensions with stripped cuticles tangle the second you section them. Our KERATIN BOND - 50g uses 100% single-donor virgin hair with intact cuticles, so it stays smooth through the whole process.

How to Cut Hair Extensions for Blending
Learning how to cut hair extensions for blending comes down to one rule: cut into the hair, never across it. Point cutting and slide cutting remove weight without creating a hard line.
A blunt horizontal cut is the single biggest giveaway of fake hair. It creates a shelf of hair that sits heavier than your natural ends.
Instead, you work vertically. You angle the blades and take small snips into the ends. This softens the transition so the extension tapers into your own hair.
Step-by-Step: How to Blend Extensions with Hair
Blending takes about 20 to 30 minutes per head once you know the moves. The process has two parts: sectioning and point cutting, then slide cutting for the finish.
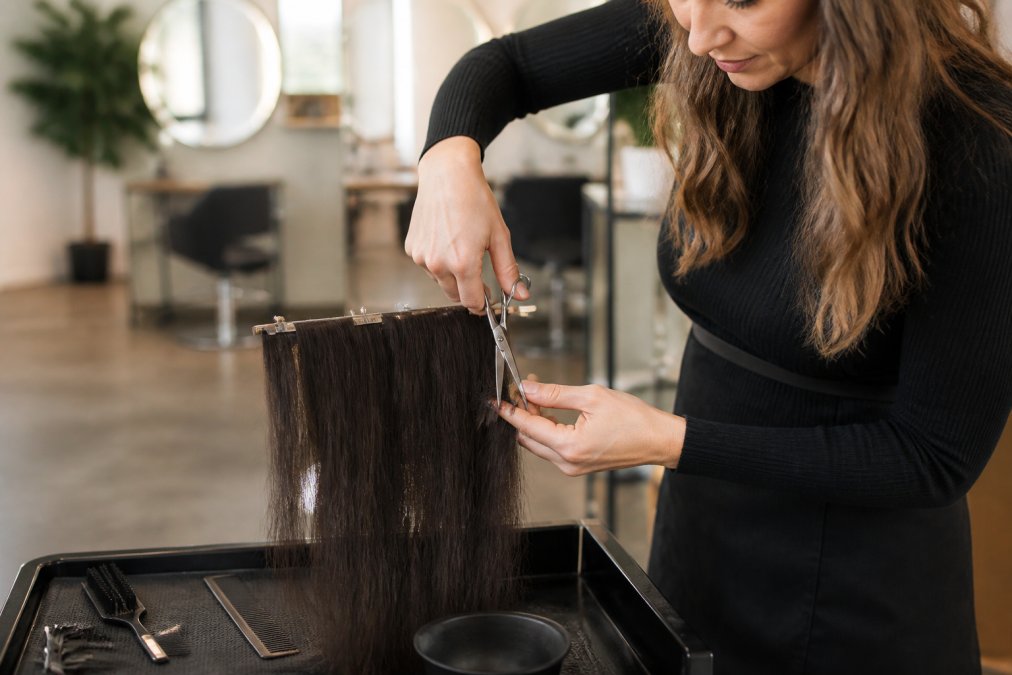
Sectioning and Point Cutting
Start by parting the hair into four sections: two at the front, two at the back. Clip each one out of the way.
Take a thin horizontal slice, about 2cm wide. Hold it between two fingers and comb it straight down.
Now point the scissors upward and snip into the ends at a steep angle. Work across the slice in small cuts. This breaks up the blunt line and removes bulk.
Move up the head in layers, repeating the same motion. Check your work as you go by letting the hair fall naturally.
Slide Cutting for a Seamless Finish
Slide cutting removes weight without shortening the length. Open the blades and slide them down the hair shaft in one smooth motion.
This technique softens any remaining hard lines. It's the step that makes the extension disappear into your natural hair.
Work slowly. Rushing the slide cut is how you end up with a chunk missing.
Blending Tape In Extensions with Natural Hair
Blending tape in extensions with natural hair needs a lighter touch than other methods. Tape sits flat against the scalp, so the blending happens at the ends, not the root.
Because tape bonds are flat and discreet, they hide well even in a high ponytail. That means you can focus your cutting on the length and ends.
Our INVISI TAPE - 50g is applied in under an hour and reusable for up to 8-12 applications. The flat profile means less bulk to disguise.

For fine hair, tape is often the better choice. There's simply less volume to blend away.
Best Tools for Blending Hair Extensions
The best tools for blending hair extensions are sharp shears, a fine-tooth comb, and sectioning clips. You don't need a salon full of equipment, just the right basics.
Here's how the main tools compare:
| Tool | What It Does | Best For |
|---|---|---|
| Hairdressing shears | Clean, precise cuts | Point and slide cutting |
| Fine-tooth comb | Smooths and aligns | Sectioning clean slices |
| Tail comb | Precise partings | Root work and sectioning |
| Sectioning clips | Holds hair aside | Working in layers |
Spend your money on the shears. A sharp, well-balanced pair lasts years and does most of the work.
Common Mistakes to Avoid When Blending Extensions
The biggest mistake is cutting extensions to a single blunt length. It looks fine when still and obvious the second you move.
Other common errors:
- Cutting wet hair, which springs up shorter once dry
- Using blunt scissors that crush the cuticle
- Skipping the slide cut and leaving hard lines
- Blending only the front and ignoring the back
- Taking too much weight out in one go
Conclusion
Blending extensions well comes down to patience and the right technique, not expensive tools. Cut into the hair, work in thin layers, and finish with a slide cut.
The hair you start with matters just as much. Stripped, mixed-donor hair tangles the moment you section it, which makes a clean blend nearly impossible.
At QUEEN OF GOOD HAIR, our single-donor virgin hair has intact cuticles and no silicone coating, so it stays smooth and blends naturally. Every bundle is traceable from donor to delivery, and it lasts 12 to 24 months with proper care.
Get started with QUEEN OF GOOD HAIR and give your clients a blend that looks like it grew there.
Frequently Asked Questions
Why do my hair extensions look obvious?
Extensions look obvious when the cut doesn't match your natural hair's shape or length. If the ends are blunt while your own hair is layered, the difference shows. Another common cause is skipping the blending step entirely after application. Using single-donor, cuticle-intact hair like QUEEN OF GOOD HAIR's range also helps because the texture moves naturally with your own hair, reducing the stiff, separate look that lower-quality hair creates.
Can you use a straighteners to blend hair extensions?
A straighteners can help smooth the hair after cutting, but it won't replace proper blending techniques. Use it on a low heat setting (around 150-160°C) to avoid damaging the bonds, especially with keratin or nano bonds. Always apply a heat protectant first. Straightening helps seal the cuticle and creates a unified look, but the real blending work happens with scissors and sectioning.
What is the best way to hide the wefts of hair extensions?
Hide wefts by leaving a section of your natural hair out around the perimeter and over the top of the weft. For flat wefts, this is easier because they sit closer to the scalp. When blending tape in extensions with natural hair, press the tape firmly and backcomb slightly at the root before covering with a thin layer of your own hair. Avoid pulling hair too tight over the weft, as this creates tension and exposes the bond.
Do I need to layer my hair extensions for a better blend?
Yes, layering is almost always necessary. Extensions come as a single length, but natural hair rarely sits at one uniform length. Adding layers to the extensions mimics the natural fall of your hair and removes any bulky, blunt line. Use point cutting or slide cutting to create softness at the ends. For fine hair, choose lightweight methods like NANOBOND or INVISI TAPE from QUEEN OF GOOD HAIR, which sit flush and layer more easily.